Getting Started with the Flex Platform
Let's have a look at how you can start using Flex quickly.
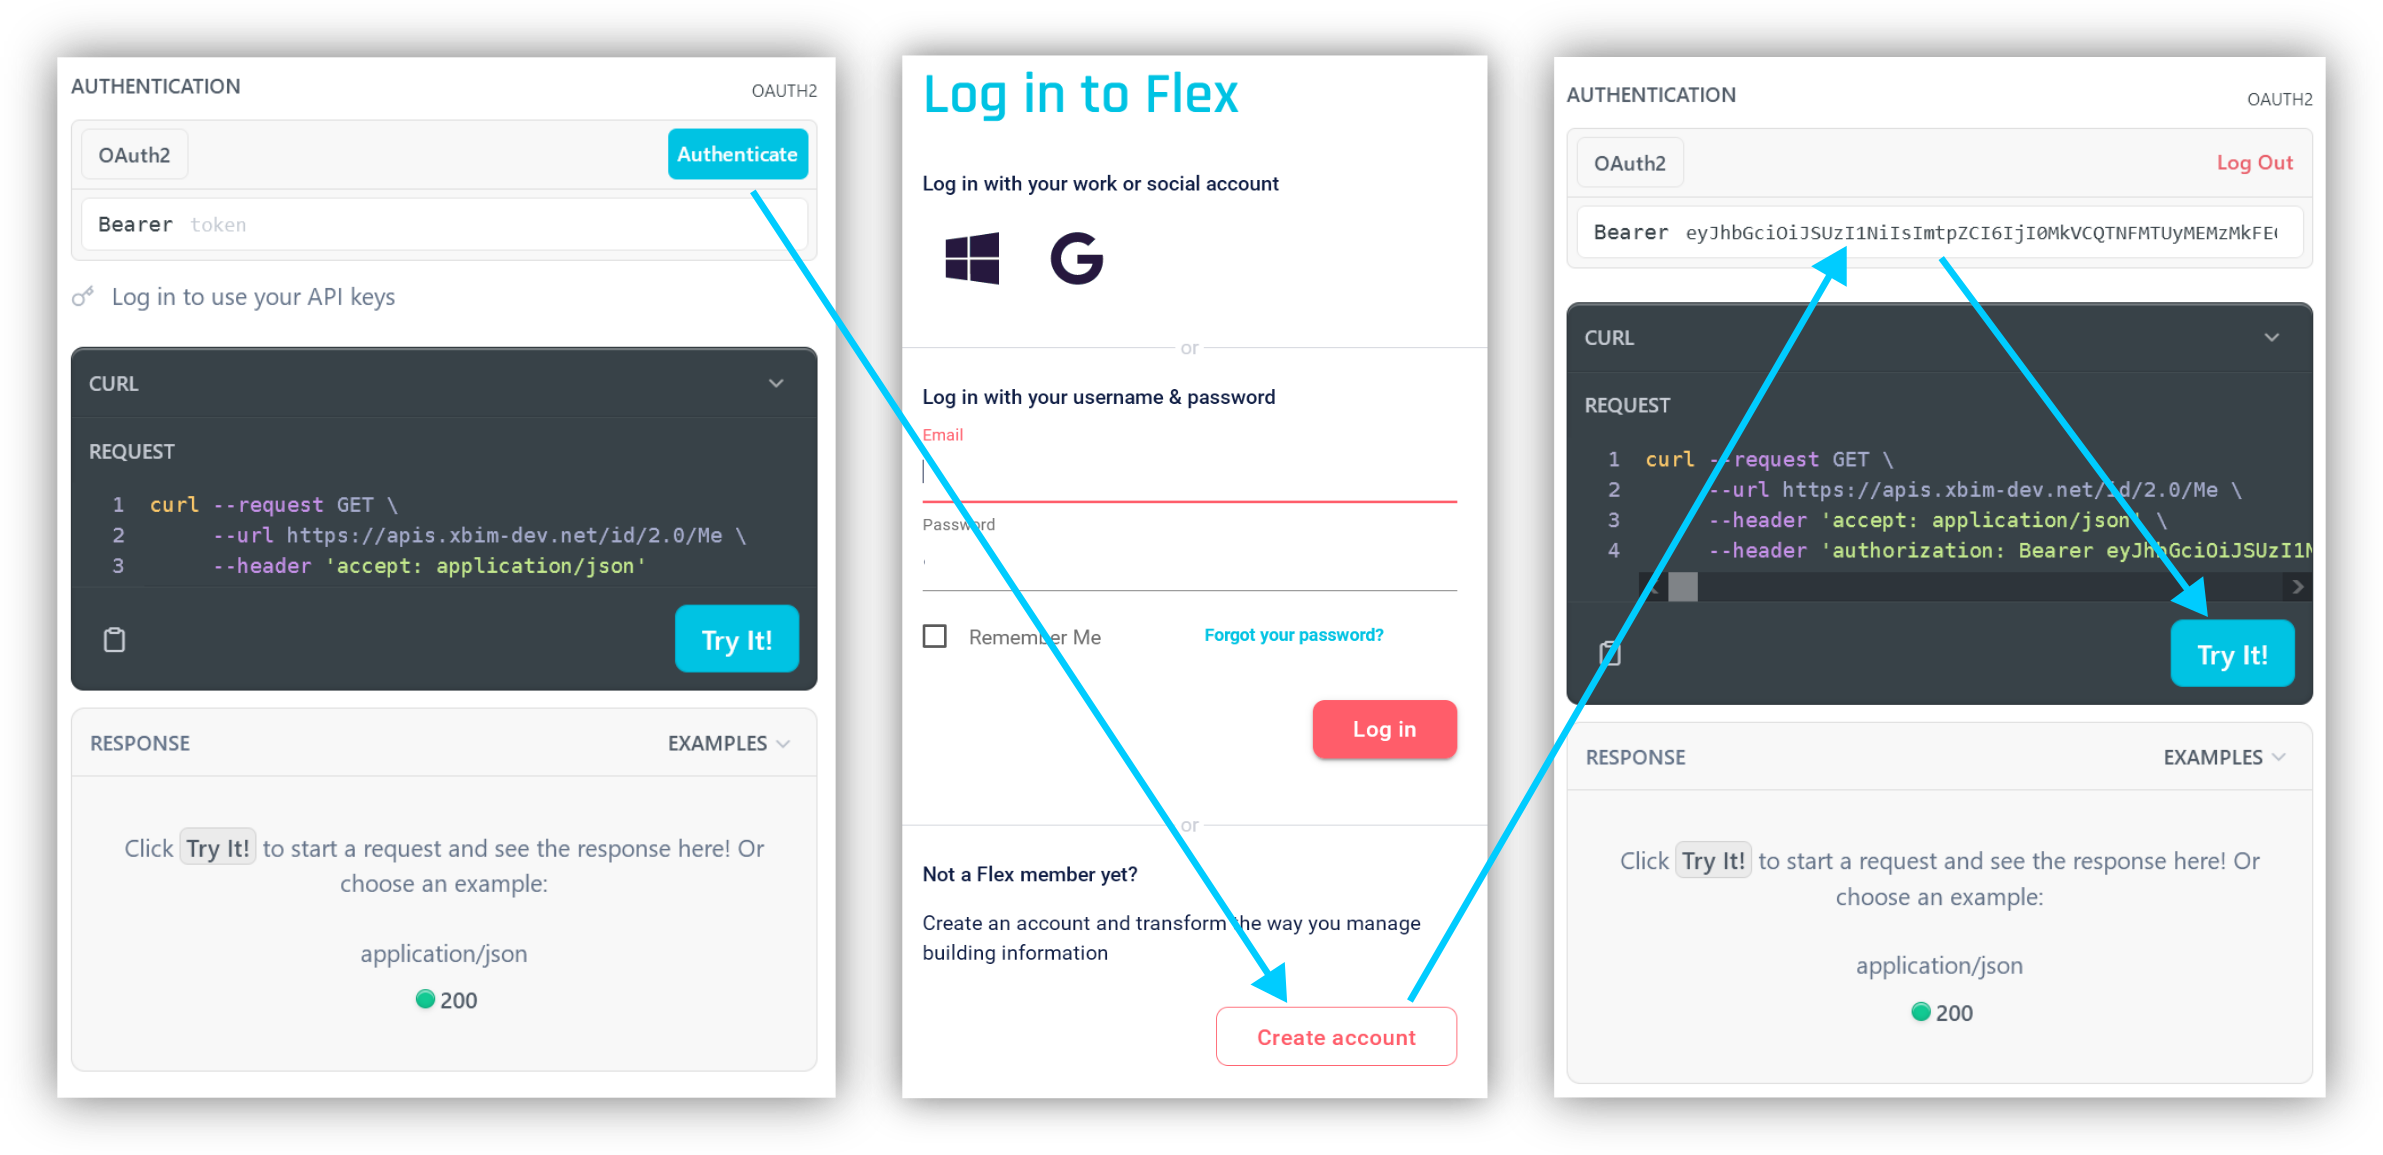
Flex is here to help you develop BIM applications and capabilities quickly. If you want to dive into the API to see what it can do, simply create your personal account in the sandbox environment and use the interactive API documentation to get started. While code snippets from the documentation are great to get started, you may want to check generated client libraries and Integrations to speed up development in your favourite language or framework.
 Bear in mind that the access token expires in 60 minutes and your browser may cache it. So, you may need to logout and login again occasionally if you keep getting 401 response.
If you haven't used our API before try this path to get yourself set up:
- Get information about yourself: "Who am I?"
- List available tenancies where you have access to data: "What can I see?"
- Get list of models you can access in the tenancy
- Page through all the components with their attributes in the model
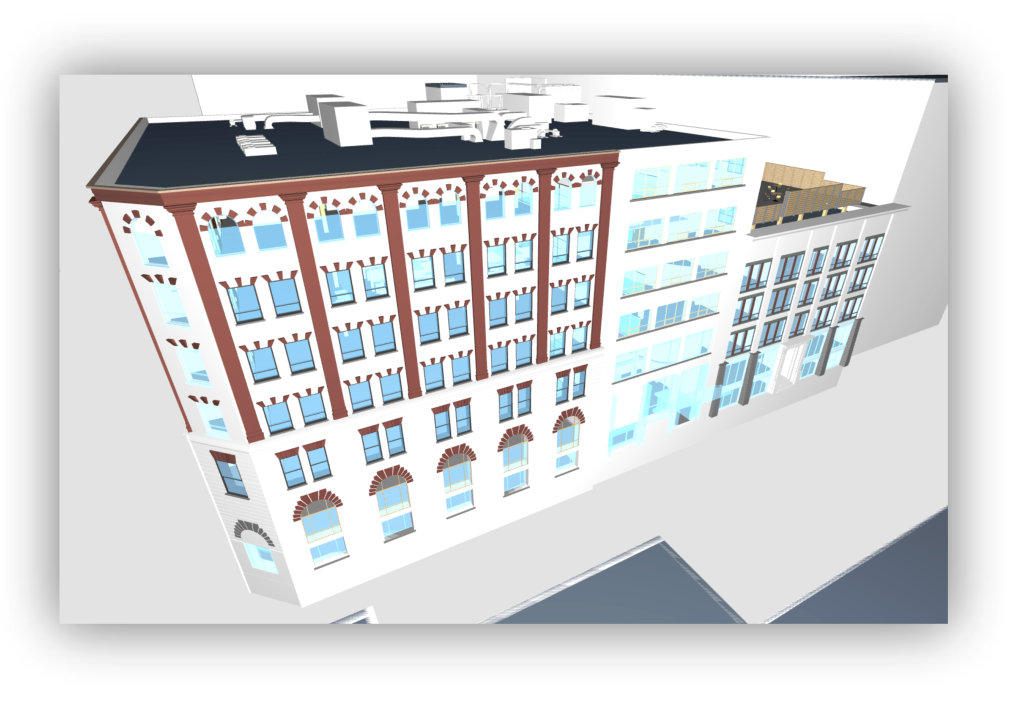
- Visualize the model in 3D viewer online
1) Get information about yourself: "Who am I?"
Use the Me endpoint. It doesn't need any arguments and you will see who we think you are:
curl --request GET \
     --url 'https://apis.xbim-dev.net/id/2.0/Me' \
     --header 'accept: application/json' \
--header 'authorization: Bearer {your-access-token}'{
"name": "Martin Cerny",
"email": "[email protected]",
"userId": "a3885f58-2edd-4cf5-b533-b488761b4a08",
"region": "sandbox"
}So, I know what my user ID is. And by what name I'm known in Flex.
2) List available tenancies where you have access to data: "What can I see?"
You can use the Tenants endpoint. Or, you can continue with the Me endpoint and make use of the OData query parameters to $expand navigation properties like Tenants. You can also only $select certain properties to reduce the amount of data fetched.
TIP: If you don't have access to any data yet, use the Access demo endpoint to get access to demo data.
curl --request GET \
     --url 'https://apis.xbim-dev.net/id/2.0/Me?
         $expand=tenants&
         $select=name,email' \
     --header 'accept: application/json' \
--header 'authorization: Bearer {your-access-token}'{
"name": "Martin Cerny",
"email": "[email protected]",
"tenants": [
{
"tenantId": "9baa360c-e541-4f7d-a0e3-a00940e45b9f",
"tenantName": "Demo",
"region": "sandbox",
"role": "Viewer"
}
]
}Now I know I have at least access to "Demo" tenancy as a Viewer. And I know this lives in sandbox region. I'll need tenant ID and region for all Flex API areas except for Identity API. There are other useful OData query parameters we will explore in a minute.
3) Get list of models you can access in the tenancy
Use the Get Models endpoint. Models are grouped into Assets, but you can query them directly. This is important, because it allows you to craft data queries across all the data within a single tenancy. So, you can easily extract a portfolio view of all models as well as all spaces, components and all other entities.
curl --request GET \
     --url 'https://apis.xbim-dev.net/sandbox/aim/2.0/9baa360c-e541-4f7d-a0e3-a00940e45b9f/Models'\
     --header 'accept: application/json' \
--header 'authorization: Bearer {your-access-token}'[
{
"State": "Active",
"AssetModelId": 63216,
"AssetId": 63200,
"Name": "210_King_Merged.ifczip",
"Revision": "",
"Status": "",
"IsCurrent": true,
"SegmentName": "210 King King Street",
"SegmentId": "9676c6ec-e0b3-477b-b218-fc4c8120936d",
"AssetName": "210 King King Street",
"ModelSize": 31006518,
"OneMeter": 1.0,
"ProcessingStage": "Process Ended",
"ProcessingStatus": "Completed"
},
... truncated for clarity
]Models are usually created by importing IFC model. You can see the name of the original IFC model as a name of the model. You can also see that processing of the model was completed successfully and that this model is in meters (OneMeter factor is 1.0. It would be 1000 for model in millimetres and 3.28 for model in feet).
4) Page through all the components with their attributes in the model
Now we have a model, we can dive into it. Let's get all the components (things like walls, doors, boilers, chairs etc. ) with their attributes. We only want components in a single model, so we apply $filter=AssetModelId eq 63216 (see OData conventions for a full list of operators). We want to see the attributes, so we expand the navigation property with $expand=Attributes. OData supports nested query parameters, so we can save bandwidth by selecting only some of the attribute properties with $expand=attributes($select=name,groupname,unit,value). There might be many components even in a single model. It is not unusual to see thousands of components in a mid-sized model. So, we shall implement paging with $top and $skip parameters. At the same time, we shall set $count=true to see how many components there are if we wanted to iterate over all of them, or set up the right size for virtual scrolling. Using $top, $skip and $count, we can also implement asynchronous enumerations.
curl --request GET \
     --url 'https://apis.xbim-dev.net/sandbox/aim/2.0/9baa360c-e541-4f7d-a0e3-a00940e45b9f/Components?
       $filter=AssetModelId eq 63216&
       $expand=attributes($select=name,groupname,unit,value)&
       $select=entityid,name,description&
       $top=100&
       $skip=0&
       $count=true' \
     --header 'accept: application/json' \
--header 'authorization: Bearer {your-access-token}'{
"@odata.count": 12744,
"value": [
{
"EntityId": 3147114,
"Name": "King Facade- Arch window",
"Description": null,
"Attributes": [
{
"GroupName": "Pset_WindowCommon",
"Name": "FireRating",
"Unit": "",
"Value": {
"DataTypeFlags": [
"Text"
],
"DataType": "Text",
"Text": "60 min",
"Logical": null,
"Date": null,
"Integer": null,
"Real": null
}
},
{
"GroupName": "Pset_WindowCommon",
"Name": "IsExternal",
"Unit": "",
"Value": {
"DataTypeFlags": [
"Logical"
],
"DataType": "Logical",
"Text": null,
"Logical": true,
"Date": null,
"Integer": null,
"Real": null
}
}
]
},
... truncated for clarity
]
}As you can see, this model contains over 12,000 components. So, it is a good idea to think about bandwidth and performance when working with the data and crafting the queries.
5) Visualize the model in 3D viewer online
Now that you know how to get some data from the API, you may want to visualize it in 3D online. We have a WebGL based viewer of our own creation, which is built for performance of construction data. It is available as an NPM package with minimal set of dependencies and Typescript typings. It's complete documentation is here. Below is a simple example which makes use of the built-in ability to access authorised endpoints and load the data asynchronously using web workers. Let's set up a basic workspace using npm:
mkdir FlexGettingStarted
cd .\FlexGettingStarted\
npm init
npm install @xbim/viewer
Create new index.html file in the root folder and paste this code:
<!DOCTYPE html>
<html>

<head>
    <script src="node_modules/@xbim/viewer/index.js"></script>
    <style>
        * { padding: 0; margin: 0; }

        html, body, canvas { width: 100%; height: 100%; display: block; }

        #progress { height: 2em; width: 0%; background-color: deepskyblue; position: absolute;
            left: 0; bottom: 0; }
    </style>
</head>

<body>
    <canvas id="viewer"></canvas>
    <div id="progress"></div>
    <script>
        var viewer = new Viewer('viewer');
        var progress = document.getElementById('progress');
        var models = {};
        viewer.on('loaded', e => {
            models[e.model] = e.tag;
            console.log(`Loaded asset ${e.tag.asset}, model ${e.tag.model}`);
            viewer.show(ViewType.DEFAULT).then(() => { progress.style.display = 'none' });
            viewer.on('pick', args => console.log(`Picked entity ${args.id} from model ${models[args.model].model}`))
        });
        viewer.loadAsync(
            'https://apis.xbim-dev.net/sandbox/aim/2.0/demo/wexbim/complete?assetId=63200&modelId=63216',
            { asset: 63200, model: 63216 },
            { authorization: `Bearer {your-access-token}`},
            (msg) => { progress.style.width = `${msg.percent}%` });
        viewer.start();
    </script>
</body>

</html>
Replace {your-access-token} placeholder with your actual access token. Bear in mind the access tokens expires in 1 hour. In real application, you would hook it together with an authentication component. When you open this in your browser, you will see loading bar as viewer loads the model. Then you will see the model zooming to the default view.
Note the tag we pass to loading method. This allows us to keep reference between the loaded model and Flex API model. You can load more models to create a federated view (for example architectural model + MEP model + structural model). When you open developer tools (usually F12 key) and click on any element in the viewer, you will see new log entry with identity of the element. This is all you need to talk back to Flex API to fetch more data for your application.

Updated about 2 months ago
To use most of Flex API, you will need to implement some authentication
